How to automatically position your photos on a page
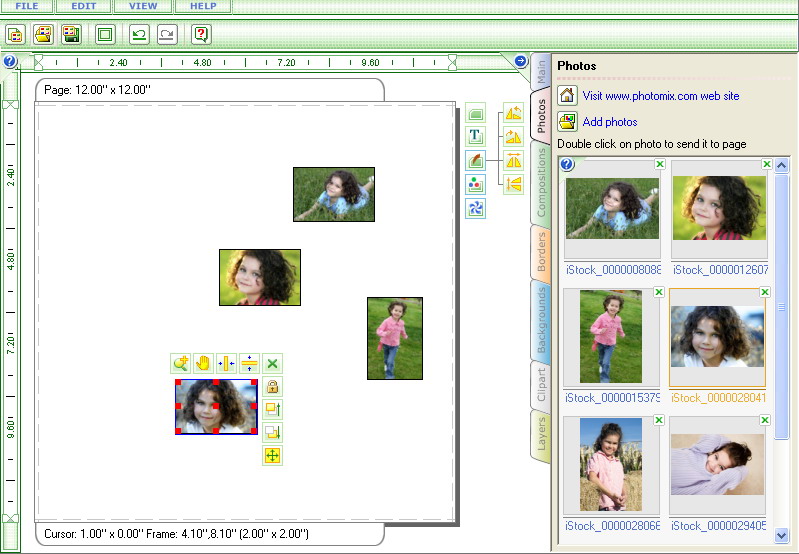
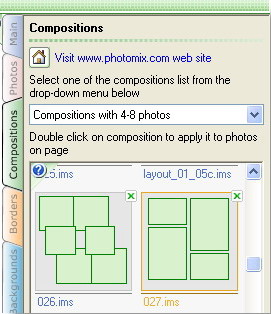
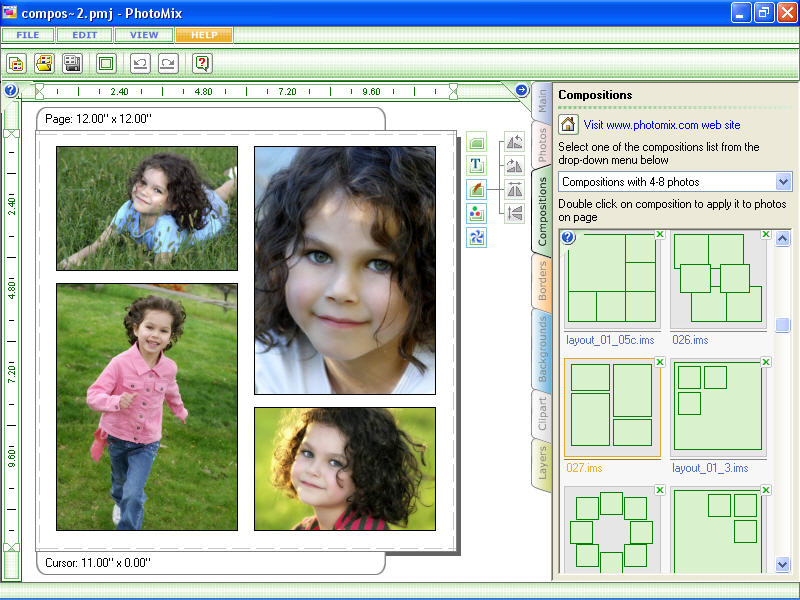
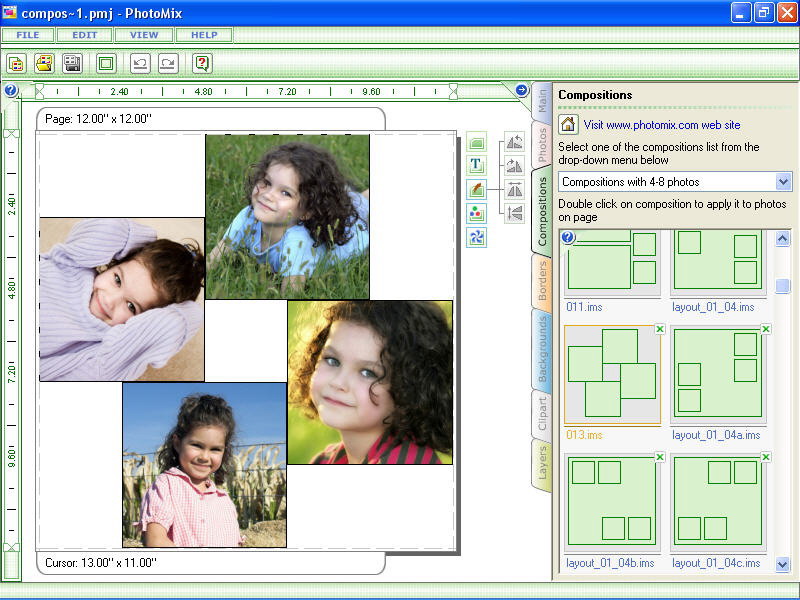
After launching the PhotoMix software, you will find a Compositions tab on the right side of the window. By clicking this, you will be able to view all the available pre-programmed layouts. These are divided into three groups according to the number of frames that need to be filled. To create collages using these compositions, follow these simple steps:Step 1. Add photos to your page
- After clicking the Photos tab, choose the pictures you would like to use on the page you are working on.
- Double-click your desired photos to add it to the page. You may also use the drag and drop option.
Step 2. Select a cpmposition
- Click on the Compositions tab and choose among the available layouts. Make sure that you choose from the group that corresponds to the number of frames you are working on.
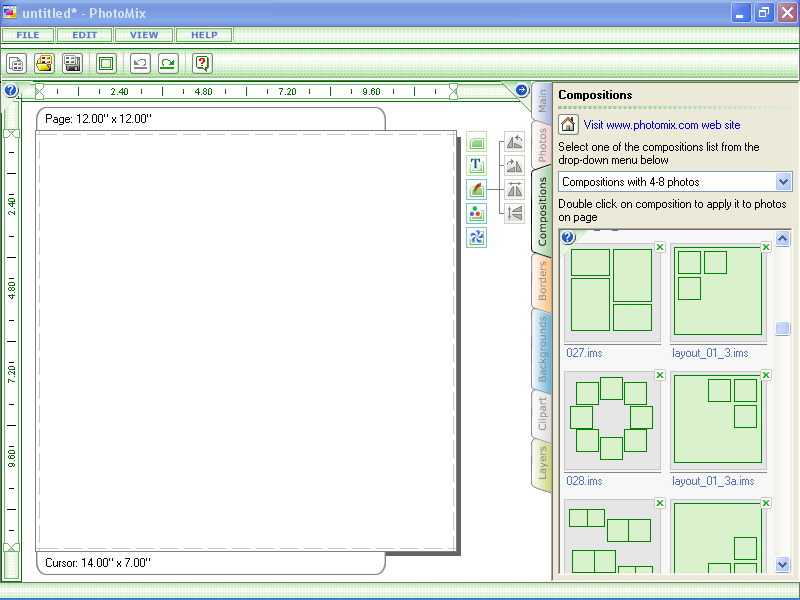
PhotoMix compositions are divided into three groups according to the number of frames/photos.
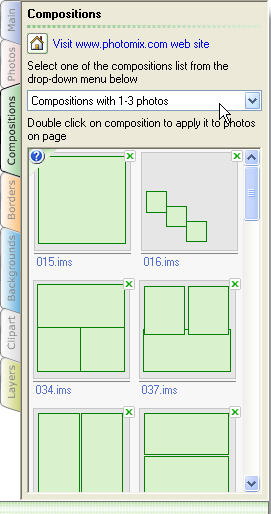
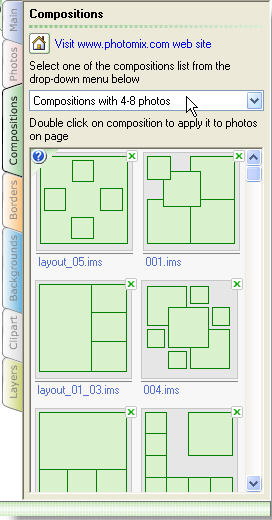
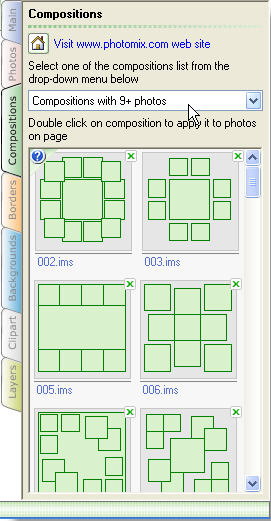
- When you have chosen a composition you like, double-click on it to add it to the page.
This will automatically organize your randomly placed photos.
Step 3. Save your work
- You are now ready to save your work! Simply click on the Main tab located at the right side of the window.
- Click on Save as photo.
- Select your preferred format.
- Click on Save
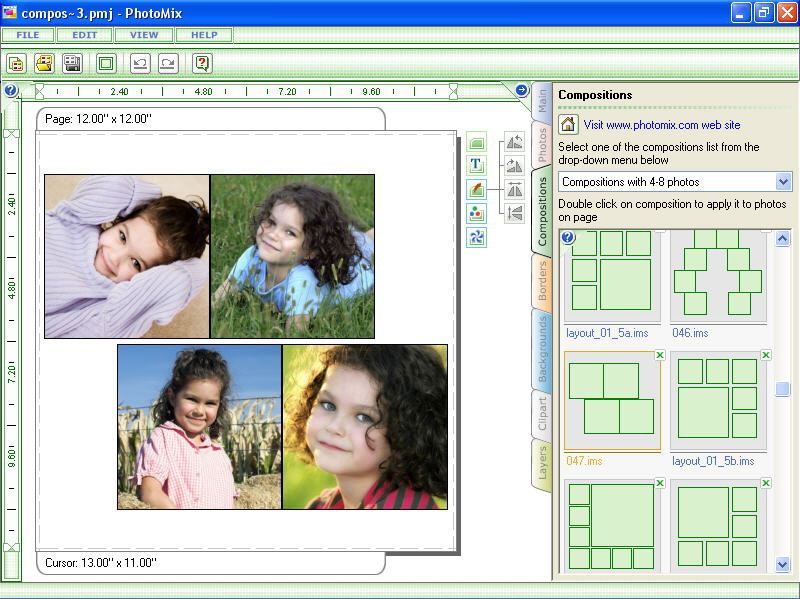
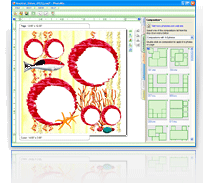
Below are some examples of collages created with just a few clicks!